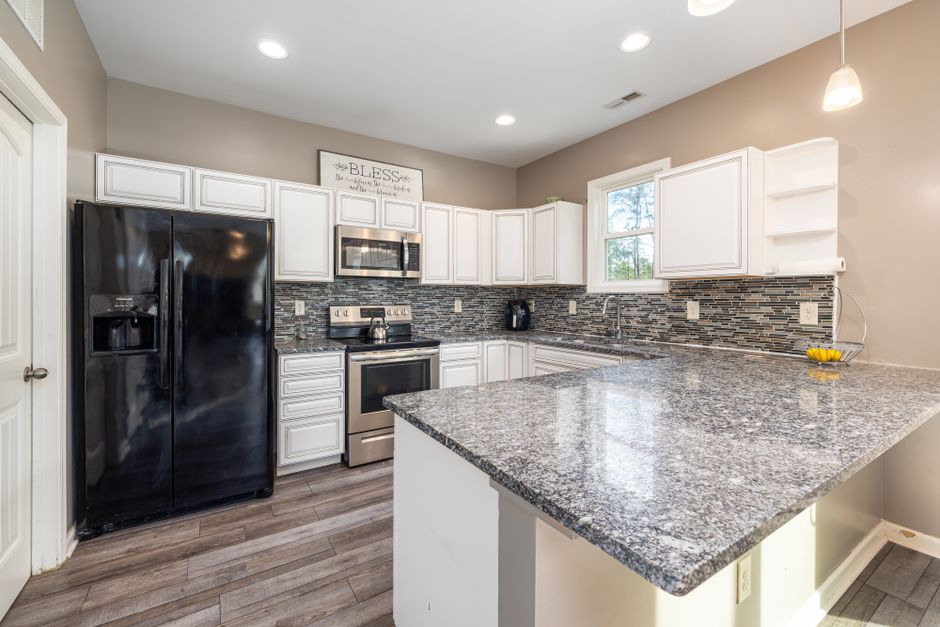
Countertops in Chattanooga, TN
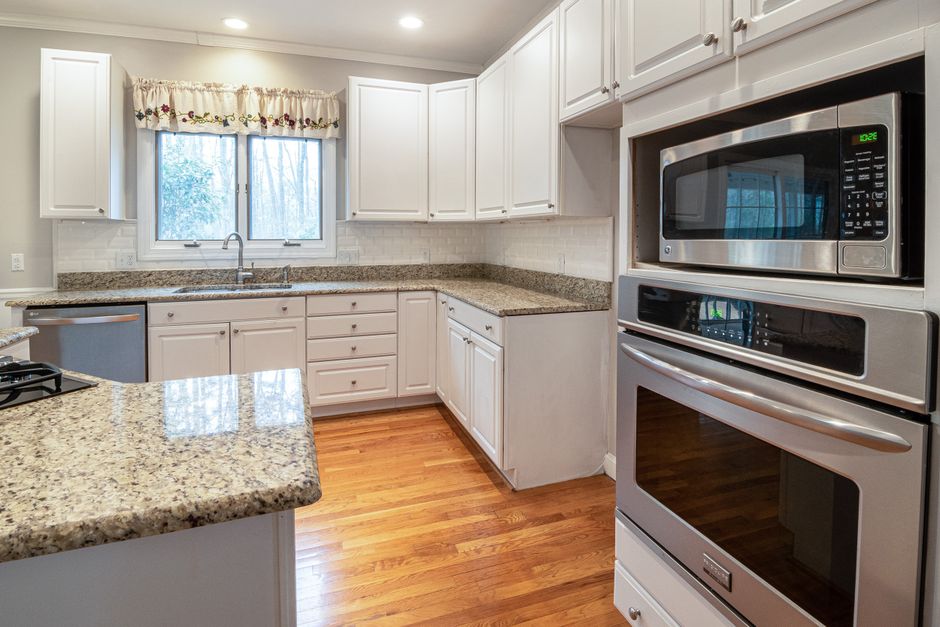
Plain answers to the questions Chattanooga homeowners ask about countertops: materials, prep, templating, install day, humidity, hillside access, and how to judge good fabrication before you sign off on the work.
What We Cover
- Why Do Countertops Crack, Chip, Stain, or Separate at the Seams The mechanical causes behind cracks, chips, etching, seam gaps, and swelling, including settling in older Hamilton County homes.
- Does Weather or Season Affect Countertop Installation How rain, cold, heat, and summer humidity affect slab delivery, adhesive curing, and wood tops, especially on hilly lots.
- Which Countertop Material Holds Up Best in a Humid Southern Kitchen How granite, quartz, marble, laminate, solid surface, and butcher block behave with heat, acids, moisture, and long humid summers.
- What Happens During Countertop Templating and Installation Step by step look at measuring, slab layout, fabrication, and install day so you know what to expect and what to approve.
- How Can You Tell If Countertop Fabrication and Installation Were Done Well What to inspect before signing off: seams, level, overhangs, cutouts, edges, and caulk lines, with a simple homeowner checklist.
- How Should You Prepare Your Kitchen for New Countertops What to clear, disconnect, and have on site before templating and install day, including access planning for steep hillside homes.
Countertops in Chattanooga, TN
A countertop job in Chattanooga comes down to six questions: how to prepare the kitchen, which material suits the climate, what happens at templating and installation, whether the season matters, why surfaces fail, and how to judge finished work. This site answers each one in plain terms for homeowners from the Walnut Street Bridge area to the ridges beyond.
Why Local Conditions Matter
Older homes across Hamilton County often have floors and walls that settled out of level over decades. A countertop is rigid, so it exposes every dip in the cabinet base. Crews shim and scribe to compensate, but cabinets that are loose or sagging need fixing first.
The long humid summers of the Tennessee River valley add another factor. Moisture moves through kitchens daily, so sealing, seam quality, and the area around the sink deserve attention.
Access and Delivery
Access decides how a slab gets inside. On Lookout Mountain, steep driveways and tight turns can keep a large truck from parking close, which means a longer carry. Slabs are heavy and awkward, and a narrow hallway or a tight corner can stop a delivery cold. Walk the route before install day and measure doorways.
What Crews Look For on Site
At templating, the crew traces the exact shape of the cabinets, walls, and sink cutout. Near the Tennessee Aquarium or out in the suburbs, the process is the same. Fixtures must be on site so the cutout matches the real sink and faucet, since a guess here leads to a bad fit.
Before the visit, run through this checklist:
- Confirm cabinets are level and solid.
- Have the sink and faucet on site before templating.
- Approve slab layout and seam placement.
- Clear a carry path from the truck to the kitchen.
Guides
The guides on this site cover kitchen preparation, material choice for humid Southern kitchens, templating and installation, weather and season, cracks, chips, stains, and seam separation, and how to judge fabrication quality.
Latest Guides
Choosing a Backsplash for a New Countertop in Chattanooga
2026-11-09
Pick the countertop first, then choose a backsplash that plays a supporting role to it. Slabs are limited and every one varies, while tile comes in thousands of options, so the counter is the harder decision and the tile can adapt to it. In a Chattanooga kitchen, that order also keeps the schedule clean, because the backsplash goes on after the counter is in.
Start With the Slab, Not the Tile Showroom
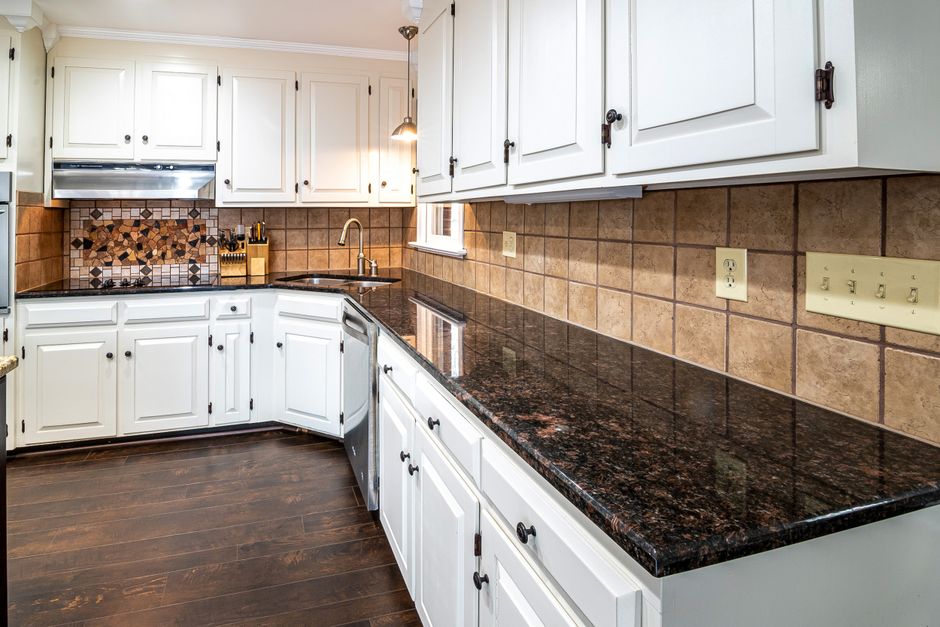
A small chip under showroom lighting tells you very little. Bring a remnant or a large sample of your actual slab when you shop for tile, and set the two side by side.
Then judge them at home. Hold the samples against the wall in daylight and again under your under cabinet lights. LED color temperature can make a warm beige quartz look gray, or push white tile toward blue next to a creamy counter. A pairing that looks perfect in a store can feel off in your own kitchen, so test it where it will live.
Let One Surface Be Busy and the Other Quiet
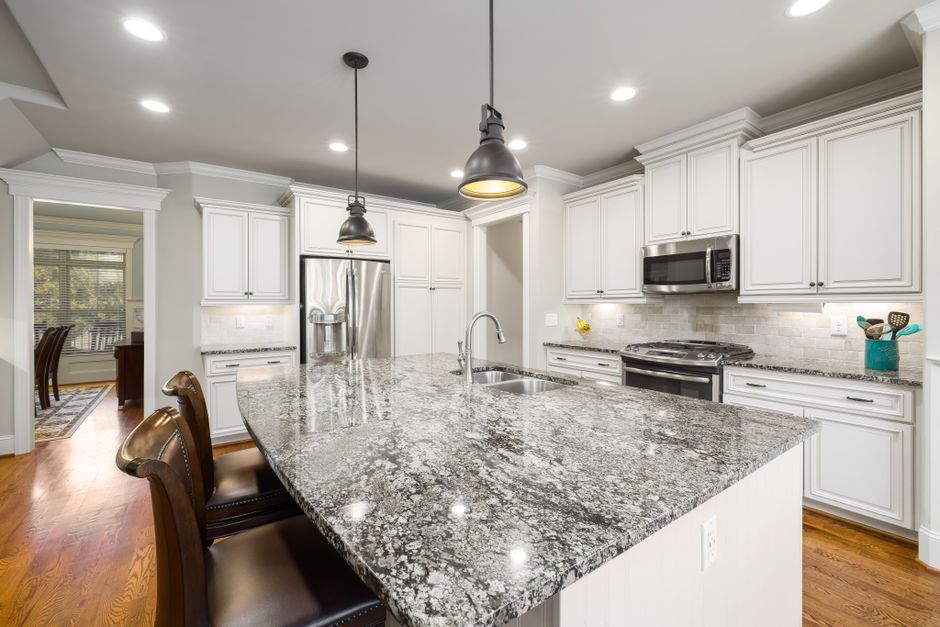
The easiest rule to follow is that only one surface gets to be the star.
- A heavily patterned granite or a strongly veined engineered stone usually looks best with a plain tile.
- A plain, solid color counter can carry a patterned or textured tile.
- If both are busy, the eye has nowhere to rest and the kitchen feels cluttered.
Borrow a Secondary Tone
You do not need to match the counter exactly, and trying to is a common mistake. Near matches often look like errors. Instead, pull the tile color from a secondary tone in the stone: a vein, a fleck, or the background shade. That creates a relationship without a forced match.
Choose a Height That Fits the Kitchen
Three heights cover most kitchens:
- Short splash. Typically about 4 inches, and often cut from the same slab as the counter. It protects the wall and keeps the look simple.
- Full height. Runs from the counter to the underside of the upper cabinets. It protects more wall and shows off the material.
- Up to the hood. Behind a range, many people carry tile or slab up to the hood as a focal point.
Solid surface counters, such as Corian or Avonite, can be made with an integral coved backsplash that curves up from the counter with no corner seam. That removes the caulk joint at the wall entirely, which is a real advantage if the joint behind the sink is a worry.
Match the Material to How You Cook
Material choice is where looks meet daily use.
- Marble and limestone. These etch from acids such as lemon, vinegar, and tomato. Sealing helps resist staining but does not prevent etching. Near a prep area, think hard before choosing polished natural stone.
- Glass tile. It needs a white setting material made for glass, applied with full coverage. Trowel ridges, air pockets, and gray thinset can show through the glass.
- Engineered stone. Brands such as Cambria contain resin that can discolor or crack under high heat. Follow the maker's guidance on clearance behind a high output range, and keep hot pans off any splash ledge.
- Butcher block counters. Wood swells and shrinks with the seasons, and the swing is large in this humid river valley climate. More on that below.
Grout Changes the Look and the Upkeep
Contrasting grout highlights the tile pattern and every uneven joint. Light cement grout behind a cooktop tends to discolor from grease. Epoxy or high performance grouts resist staining better than standard cement grout, which should be sealed. Grout is not waterproof, so it should never be treated as the seal at the counter.
The Right Order of Work
The normal sequence is simple, and skipping steps causes the most expensive problems:
- Kitchen cabinets are set and leveled.
- The countertop is templated and installed.
- The backsplash goes on.
- Joints are sealed with flexible sealant.
Tile goes on after the counter so the bottom course sits at the true finished counter height. Templating, slab thickness, and any shimming all change that height. Setting tile first to save time can leave a gap or even block the slab from going in.
A full height stone or engineered stone backsplash needs its own careful measurement, plus outlet and switch cutouts and an adhesive suited to stone. It is heavy and unforgiving, so it is usually templated after the counters are in.
Check the Walls Before Choosing a Slab
Many older homes in North Shore, St. Elmo, Highland Park, and Fort Wood have plaster or patched walls that are out of flat and out of plumb. Hold a long straightedge against the wall before settling on a full height slab. Small tiles can follow a wavy wall. A rigid slab cannot, and it will leave visible gaps unless the wall is corrected or the stone is scribed.
Look Behind the Old Backsplash
Chattanooga summers are long and humid. When the old backsplash comes off, check behind and below it for soft drywall or mold, especially around the sink. Fix the cause and replace damaged board before any new tile goes up. New tile over a hidden moisture problem only hides it for a while.
Caulk the Joints That Move
The counter and the wall move differently, so the joint between them needs flexibility.
- Leave a small gap, roughly 1/8 inch, between the bottom row of tile and the countertop.
- Fill it with a flexible sealant, not grout. Grout at that change of plane cracks.
- Treat inside corners, and the joints where tile meets a cabinet side or window casing, the same way.
Choose a color matched sealant made for kitchen and bath use, either pure silicone or a sanded caulk matched to your grout. Let it cure for the full time on the label before wiping or splashing that area.
Butcher Block Is Its Own Case
Wood counters need a gap at the wall, sealing on every surface including end grain and cutouts, and flexible sealant where tile meets the wood. Never grout tight to the wood, and never treat it like stone that can be caulked rigidly to the wall.
Keep an Eye on It
Caulk is not an install and forget seal. Inspect the counter to wall joint at least once a year, especially behind the sink and faucet. Cut out and replace cracked, peeling, or dark spotted caulk instead of smearing new caulk over old.
Details That Finish the Job
- Outlets. Tile or slab thickness usually means the boxes need extenders so devices sit flush and are properly secured. Turn off power at the breaker, and have a qualified person handle any electrical work you are unsure about.
- Ending the tile. Where tile stops at an open wall edge, use a finished edge piece, a bullnose, or metal trim. Ending at the cabinet line or a natural break usually looks cleaner than stopping mid wall.
- Extra tile. Buy enough for cuts plus a box kept back for future repairs, all from the same production lot. Colors shift between lots, and discontinued tile is hard to match later.
Leave the Stone Cutting to the Fabricator
Engineered and natural stone contain silicon dioxide, and the fine dust can cause silicosis. Do not cut stone pieces yourself with a dry saw or grinder, and do not assume a basic dust mask or working outdoors makes it safe. A fabricator who uses wet cutting and proper dust controls should handle any stone splash, strip, or cutout.
A Quick Way to Decide
Lay the slab sample on the counter, hold tile samples against the wall, and check them morning and night under your own lights. Pick the one that picks up a secondary tone without copying the main color, keeps one surface quiet, and suits how you cook. Then confirm the schedule: counter first, tile second, flexible sealant at every joint that moves.
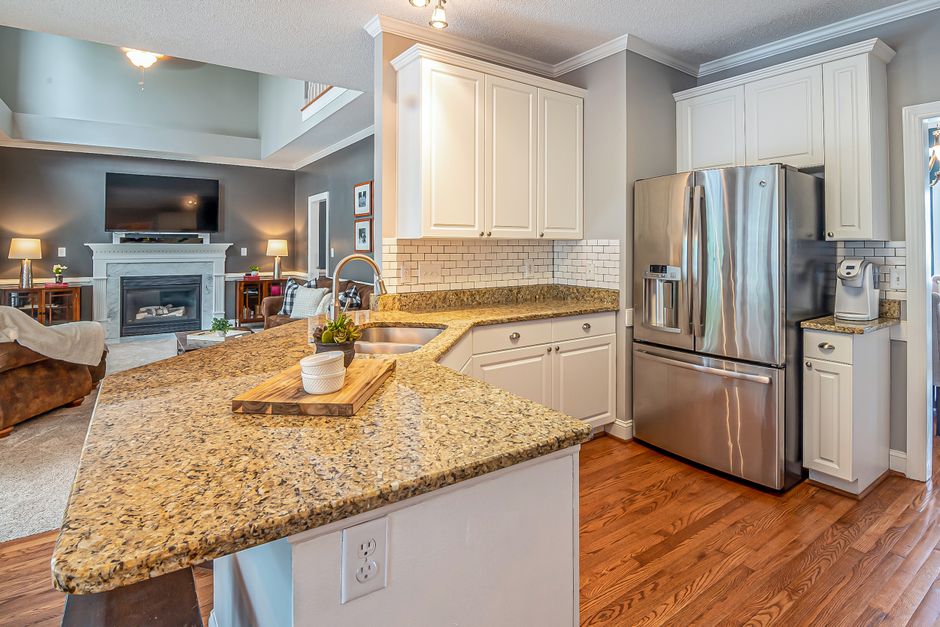
Stone Countertop Care in Chattanooga: The Right Way to Clean Daily
2026-11-09
The right daily routine for a stone countertop is simple: wipe with warm water and a small squirt of mild dish soap on a soft microfiber cloth, rinse with a damp cloth, and dry with a clean towel. Everything else, from sealing to trivets, exists to protect the stone from the few things that actually harm it: acids, heat, grit, and slow-soaking oils.
Start by Knowing What You Own
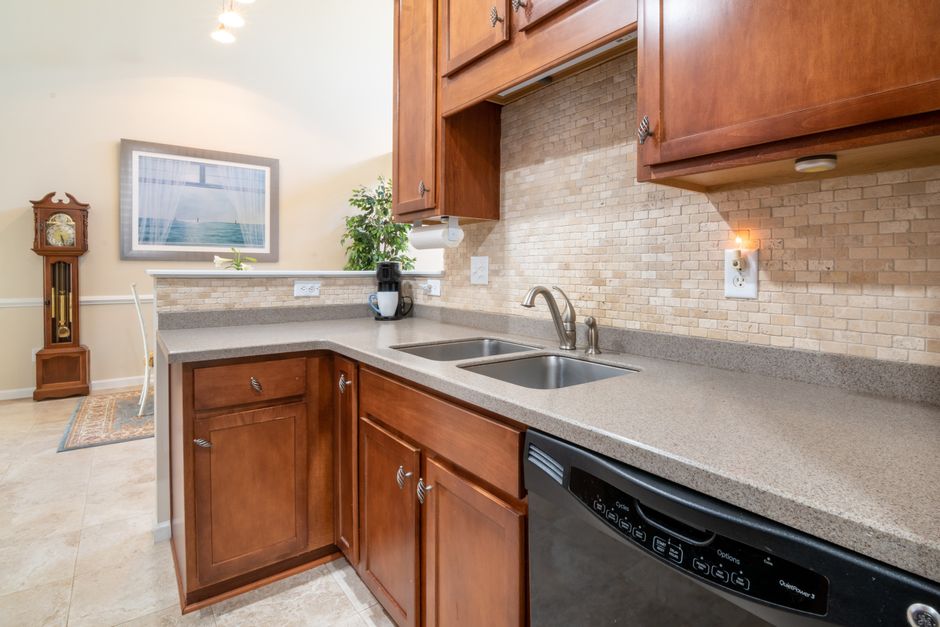
Granite, marble, and quartz look alike across a kitchen but behave very differently.
- Granite is a natural igneous stone. Its porosity varies from slab to slab, so one granite may need sealing often and another almost never.
- Marble is mostly calcite, which reacts with acids.
- Engineered quartz (sold under brands such as Cambria) is crushed quartz bound with resin. It is essentially nonporous, never needs sealing, and is sensitive to heat and harsh chemicals.
Some stone sold as "quartzite" is actually marble or dolomite. To check, put a drop of lemon juice in an out-of-sight spot. If it leaves a dull mark after a few minutes, the stone is calcite based and should be treated like marble.
The Daily Wipe-Down
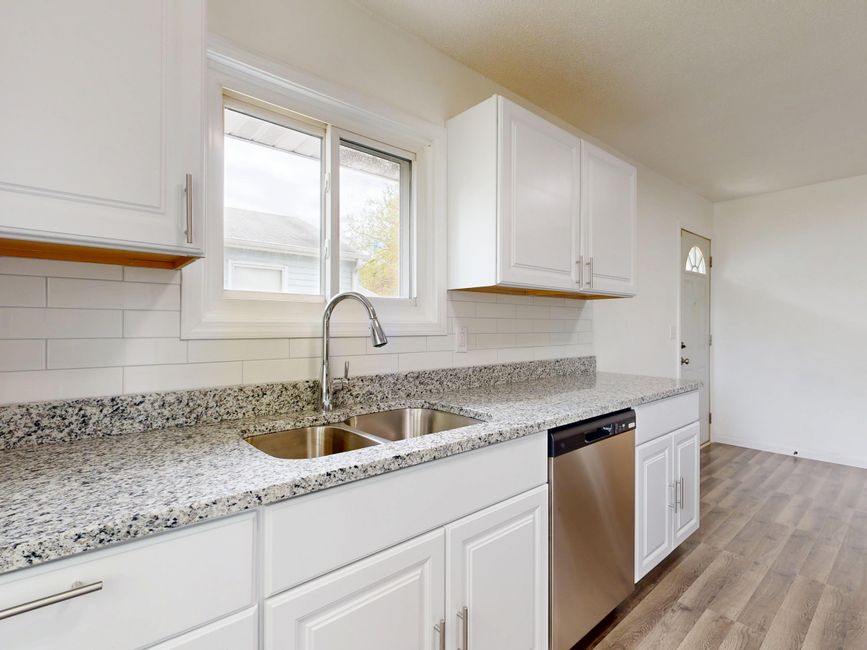
Warm water, mild dish soap, and a microfiber cloth handle nearly every mess. The rinse matters. Soap left behind builds into a film that dulls the shine, so follow with a damp cloth and then dry the surface.
If you prefer a spray, pick a pH neutral cleaner labeled for natural stone. On granite and quartz, a diluted mix of isopropyl alcohol and water is a common streak-free option that does no harm. Wipe it off afterward instead of letting it sit.
Skip abrasive powders, scouring pads, and steel wool on every type of stone. They dull a polished finish and leave haze on quartz. For dried-on food, soften it with warm soapy water, then lift it with a plastic scraper or plastic putty knife held flat.
What to Keep Away From Each Surface
Marble, limestone, and travertine
Vinegar, lemon, citrus cleaners, and most bathroom and tile cleaners dissolve calcite and leave dull etch marks, often within a minute or two. "Natural" cleaners made from vinegar or lemon are not safe here.
Granite
Granite tolerates more, but routine acidic or strongly alkaline cleaners wear down the sealer over time, and some granites carry calcite veins that can etch. Save the vinegar for the windows.
Quartz
Avoid oven cleaner, paint strippers, nail polish remover left to soak, concentrated bleach, and other strong solvents or high-alkaline products. They can discolor or weaken the resin binder, and unlike natural stone, the damage cannot be polished out.
Handling Spills Before They Mark the Stone
Blot spills; do not wipe them. Wiping spreads liquid across more surface. Blot with a paper towel, rinse the spot with plain water, and dry it.
Chattanooga kitchens tend to meet the same troublemakers: lemon in sweet tea, vinegar-based barbecue sauce, tomato sauce, citrus, and wine. During cookouts and gatherings, set these on a tray or cutting board, and use coasters under glasses on marble.
Cooking oil is the most common granite stain. It slowly darkens the stone around the range and prep area. Wipe grease splatter daily with soapy water, because even an intact sealer only slows absorption.
Etch or Stain: Tell Them Apart
The two problems need different fixes.
- An etch is a dull, lighter, or rough spot where the surface itself was chemically damaged. Light etches on polished marble can sometimes be buffed with a marble polishing powder. Deeper ones need professional honing and repolishing.
- A stain is a darker or colored mark where something soaked in. Many stains can be drawn out with a poultice.
Finish plays a role too. Honed marble hides etching better but shows stains more readily. Polished stone shows etches more but resists absorption better.
Pulling a Stain Out With a Poultice
Not every stain is permanent. For oil stains, mix baking soda with water or acetone into a paste. For organic stains like coffee, tea, and wine, use baking soda with hydrogen peroxide, but only on light-colored stone. Spread the paste over the stain, cover it with plastic wrap, let it dry for a day or two, then scrape it off and rinse. Repeat if the mark is still there.
When and How to Reseal Porous Stone
Reseal based on a test, not the calendar. Not all granite must be sealed every year; some dense granites go years without needing it, while light-colored granite and marble may need it more often.
The water drop test
- Place a few drops of water on several high-use spots: near the sink, beside the range, and in the prep zone.
- Wait about 15 minutes.
- If the stone darkens under the water, it is absorbing liquid and needs sealer. If the water beads or sits without darkening, hold off.
Testing once or twice a year is a sensible habit. Quartz never needs sealing.
Applying sealer
Begin with a clean, completely dry counter. Chattanooga summers are humid, so allow extra drying time after a wet cleaning before you seal. Apply an impregnating sealer made for natural stone, let it dwell for the time on the label, and then wipe off all excess. Sealer left to dry on the surface leaves a sticky haze. Honor the label's cure time before returning the counter to heavy use.
Keep expectations honest: sealer slows staining but does not stop etching. A sealed marble counter will still etch from lemon juice. Only quick cleanup and avoiding acids protect against that.
Trivets and Cutting Boards Every Time
Heat and blades do more lasting damage than most spills.
- Trivets: Quartz resin can scorch, yellow, or crack from a hot pan, so quartz is not heatproof. Granite handles heat better, but sudden temperature swings can crack it, especially near sink cutouts and seams, and heat degrades the sealer. Slow cookers, air fryers, and electric griddles that run for a long time belong on a trivet or board too.
- Cutting boards: Granite and quartz dull knife edges quickly, and knives can scratch marble and mark quartz. A wood or plastic board, such as a butcher block style board, protects both counter and blade.
Watch What Slides Across the Surface
Cast iron, unglazed ceramic bases, and grit trapped under appliances can scratch a polished finish. Rusty cans and metal bathroom containers leave rust stains. Lift heavy items rather than dragging them, and put a liner or tray under toiletries.
Sink Edges, Seams, and Overhangs
Standing water at the sink rim and faucet base leaves mineral deposits. If your tap water leaves white spots, wipe these areas dry daily. On marble, remove buildup with a stone-safe product rather than vinegar. At undermount sinks, check the caulk line, and have it redone if it is gapped or dark so water does not get beneath the stone.
Treat seams and overhangs gently. Do not stand or kneel on the counter, sit on an unsupported overhang, or put heavy weight near sink cutouts, where the stone is thinnest. Keep strong solvents and direct heat away from seams, because seam filler is resin. The same care applies to a kitchen island, where overhangs for seating are common.
A Note on Safety and Sanitation
Daily cleaning of finished granite or quartz does not release harmful silica dust. The silicosis risk comes from cutting and fabrication dust, not from wiping a counter. A sealed or dense granite surface cleaned routinely is a sanitary place to prepare food.
A Simple Daily and Seasonal Rhythm
- Every day: wipe with soapy water, rinse, dry, and blot spills right away.
- After cooking: clear grease splatter near the range and dry the sink rim.
- Once or twice a year: run the water drop test on natural stone and reseal only if it darkens.
- Always: trivets under hot cookware, boards under knives, coasters on marble.
Stone rewards consistency far more than effort. A few habits, repeated, keep a counter looking close to new for years.